Description
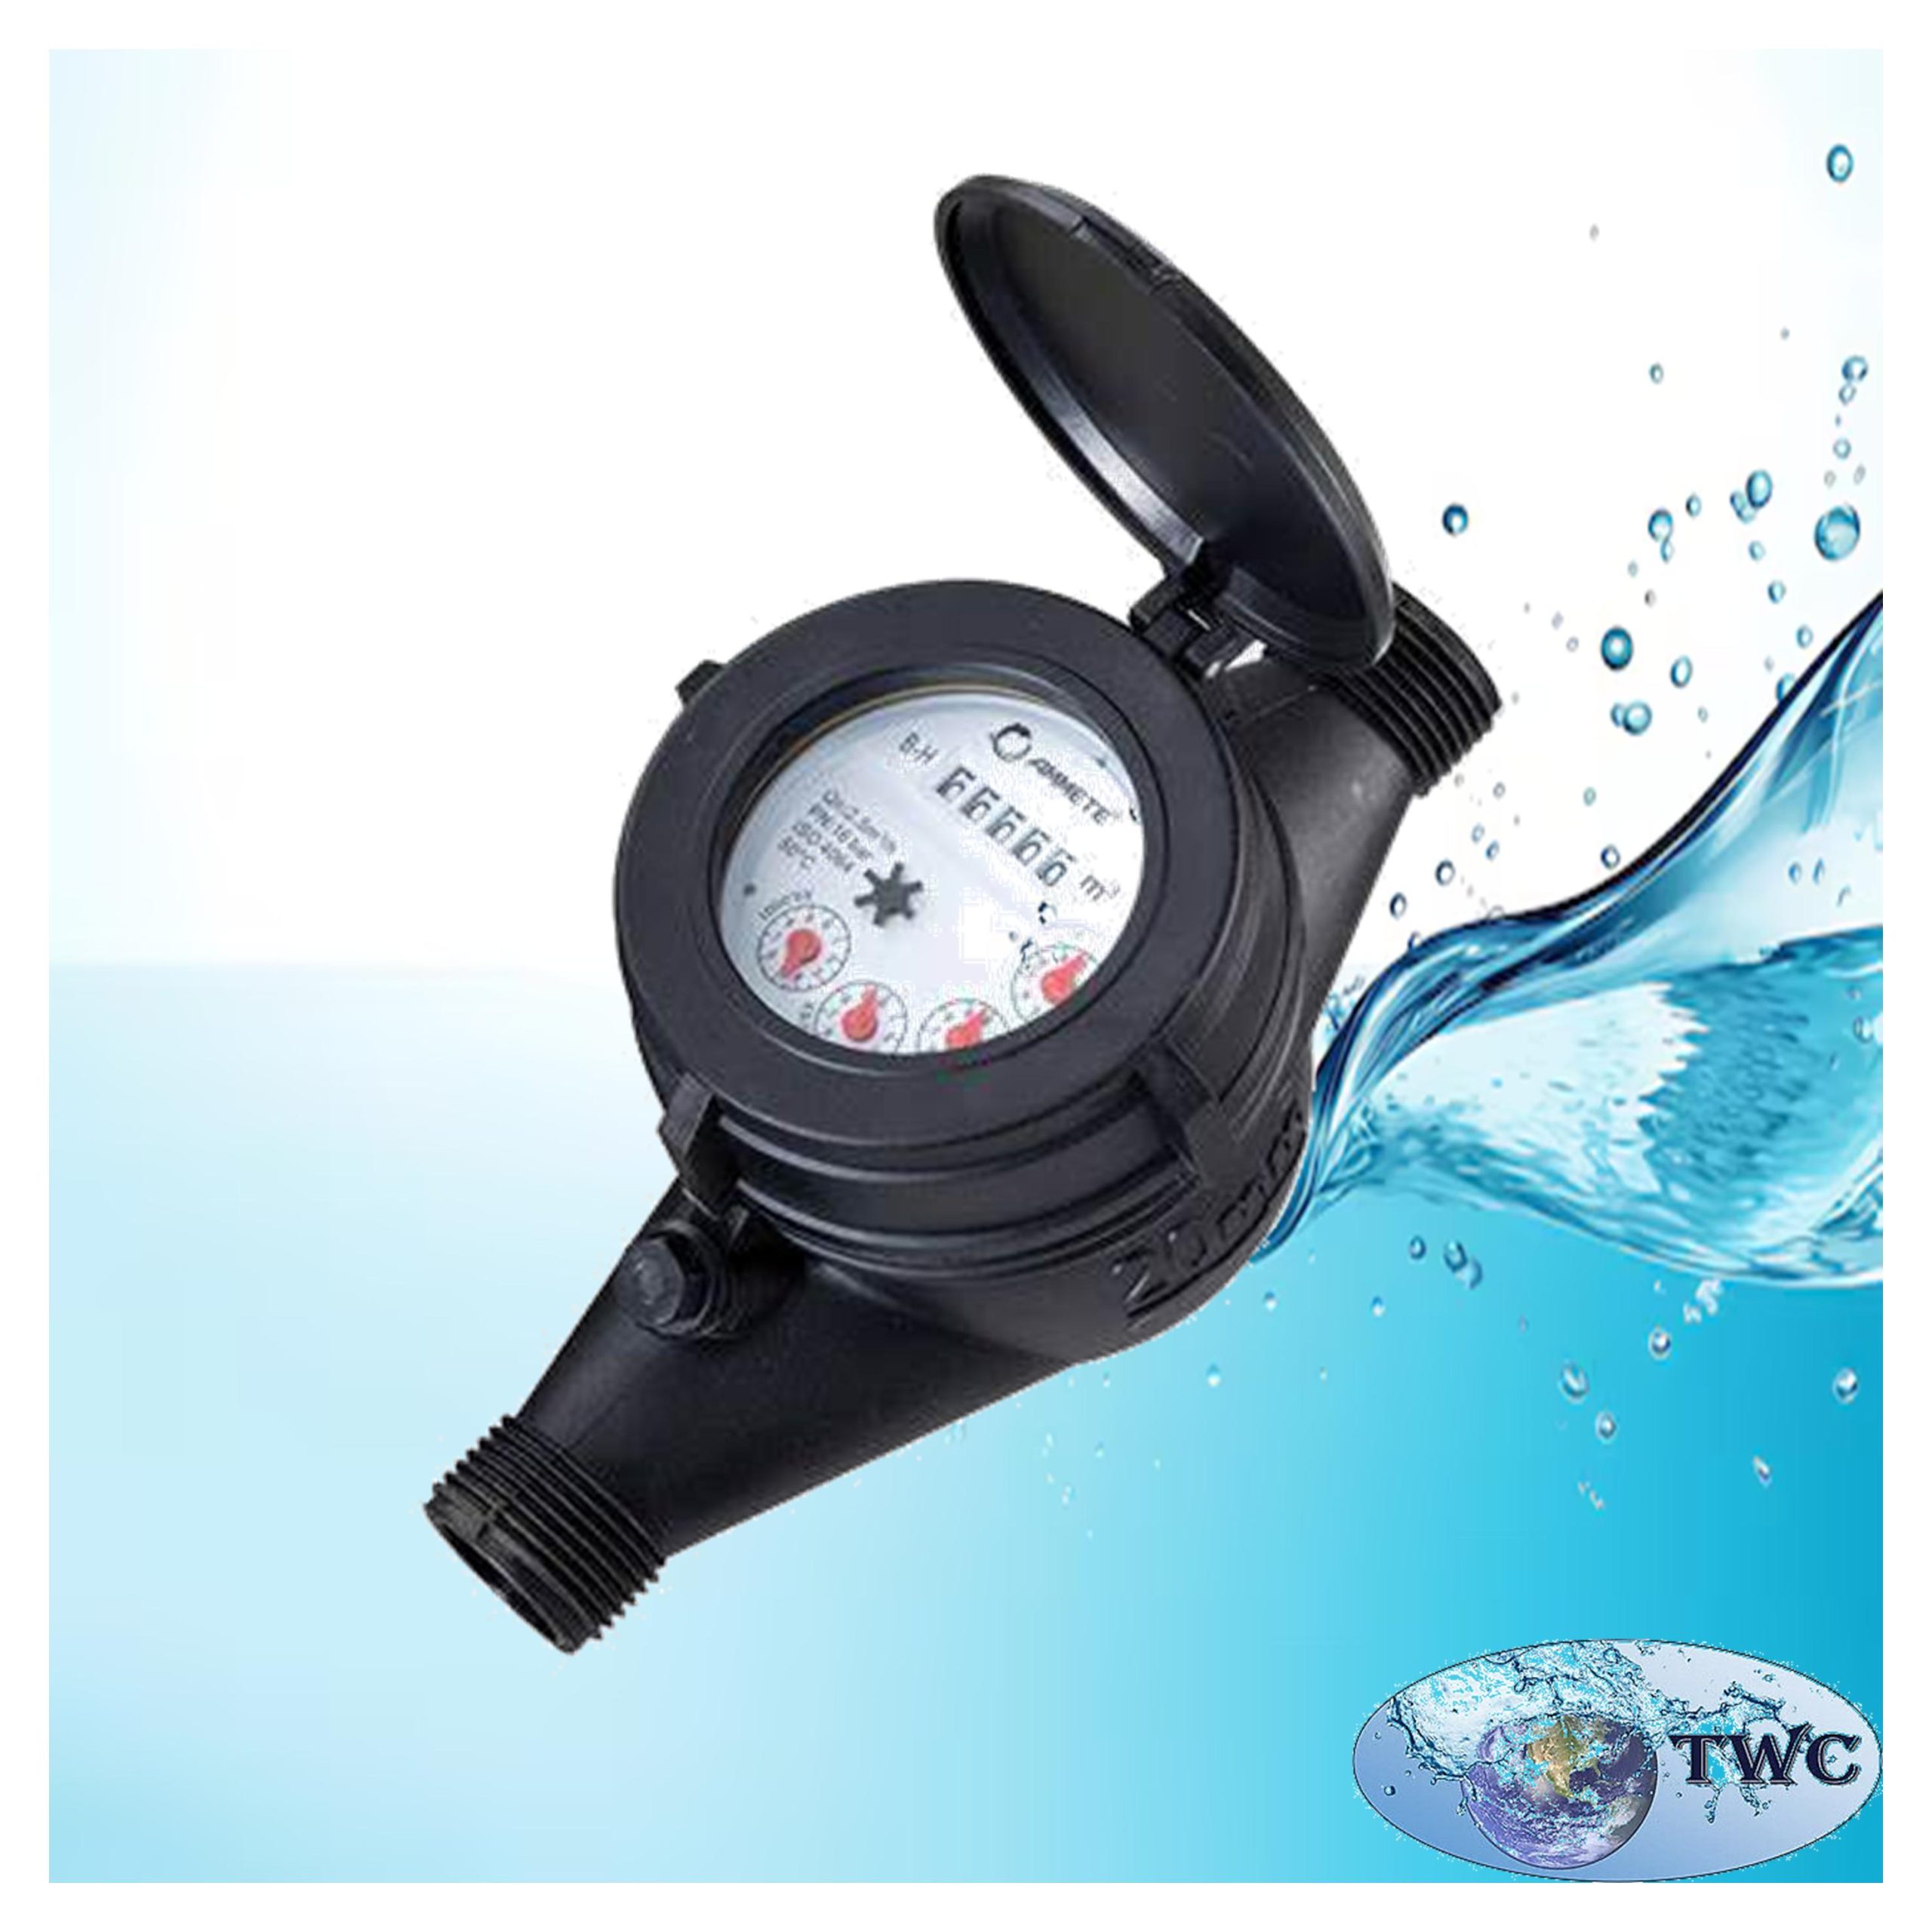
Firstly the Multi-Jet (Class C) polymer water meter – 40mm. Accurate measurement of the volume of cold potable water consumption. Zone metering and area monitoring.
FEATURES
- Complies with SANS1529 -1: 2019 Class C specifications.
- Meter for horizontal installation.
- Pulse prepared.
- Clear, easily read, dry dial 6-digit counter.
- Sealed dry dial register.
- Working temperature between ≤ 50°C.
- Internal plus removable strainer. (2 strainers).
- Maximum working pressure 1600 kPa.
- Glass reinforced polymer body for maximum strength.
- Meter pressure tested to 4800 kPa.
- Magnetic drive, lower transmission resistance.
- A magnetic shield prevents external magnetic interference.
- Pulse prepared. A reed switch is an optional extra
Installation Instructions
Step 1: Protecting the Meter
Firstly ensure the Multi-Jet (Class C) polymer water meter – 40mm is covered after installation to protect it from direct sunlight. This can be done using a housing or meter box.
Step 2: Sizing
Afterwards ensure the water meter is properly sized according to the pipe size or flow rate.
Step 3: Flushing Pipework Before Installation
Flush all pipework to remove debris or sand, ensuring a clean pipeline.
Step 4: Meter Orientation
Install the meter horizontally with the dial face upright.
Step 5: Avoiding Pressure
Ensure no pressure is applied to the meter during installation from misaligned pipes or excessive vibration, as this can cause damage.
Step 6: Fitting Installation
Avoid over-tightening fittings or using excessive sealing materials like tape, which can cause leaks.
Step 7: Thread Treatment
Do not use hemp on the inlet or outlet threads. Instead, use thread tape or PTFE tape, ideally with tail pieces.
Step 8: Soldering Precautions
Also avoid soldering near the meter, especially where brass fittings are involved, to prevent damage from heat.
Step 9: Water Type
Ensure the meter is used only for cold water applications and not in hot water pipelines.
Step 10: Appropriate Usage
Use the meter exclusively for clean potable water to avoid damage and inaccuracies.
Step 11: Handling Care
Handle the meter with care as it is a precision instrument. Do not drop it or damage the meter seal.
Step 12: Thread Fittings
Avoid using tapered thread fittings; tailpieces are recommended.
Step 13: Additional Protection
Install a strainer before the water meter to protect it from debris or sand.
Conclusion:
At this instant by following these steps, you will ensure optimal meter performance and maintain compliance with warranty guidelines. Evidently the Water Company will repair or replace defective meters at their discretion. By and large proper installation is key to a long-lasting, accurate water meter.