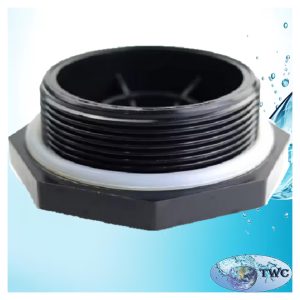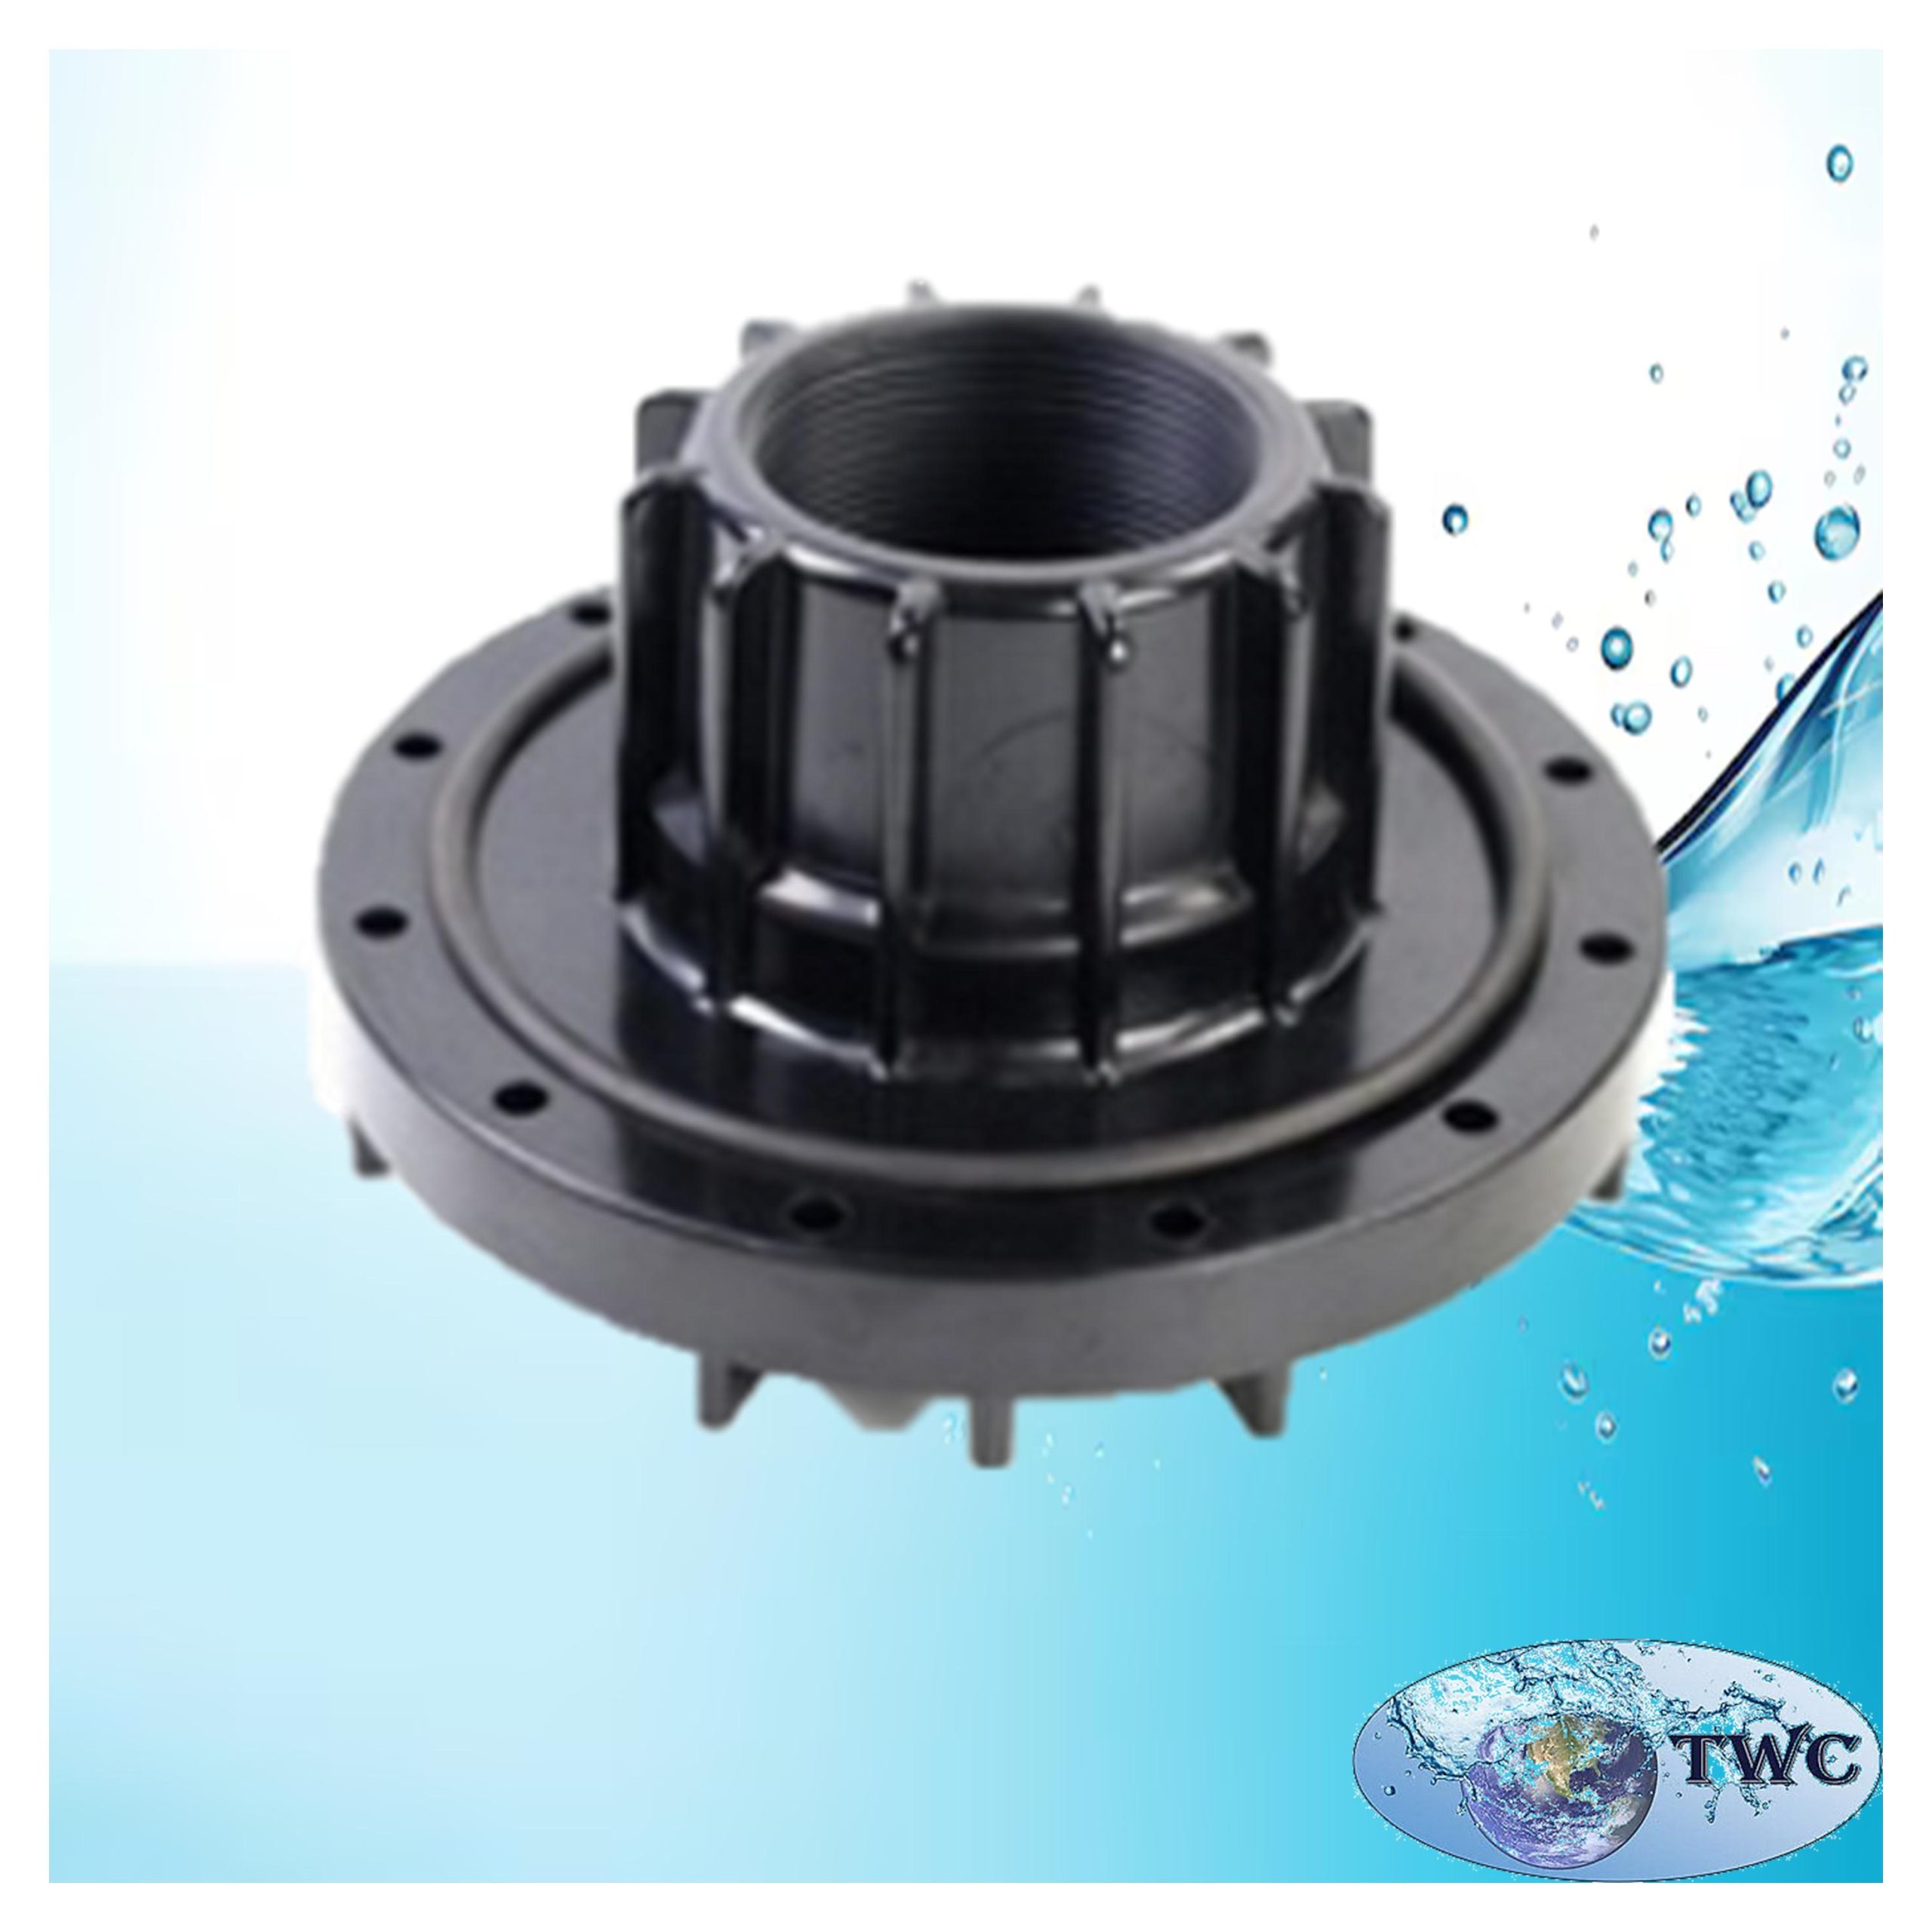
Description
6″ Flange adaptor, 3″ thread and distributor ports also known as a flange closure or tank adapter. Engineers specifically designed these systems for industrial and commercial water filtration.
Key Features
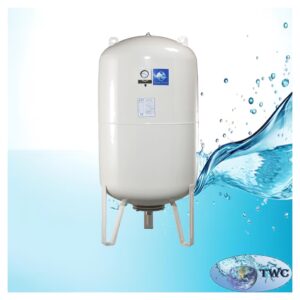
Firstly this 6″ Flange adaptor, 3″ thread and distributor ports serves as a critical interface between a water treatment tank (like a Katalox light or Softening SAC exchange resin 25L bag) and its control valve.
- 6-Inch Flange: The flat, circular base features a ring of bolt holes used to securely mount the adapter to the mouth of a 6-inch flanged mineral tank.
- 3-Inch Internal Threads: The central hub contains internal female threads designed to receive a control valve or a distributor head.
- Distributor Ports: The underside of the unit connects to internal “distributor” laterals or diffusers that manage water flow throughout the filtration media.
- Durable Construction: These are manufactured from high-strength, corrosion-resistant materials like glass-filled Noryl, PVC, or polypropylene (PP) to withstand high pressure and chemical exposure.
Specific Bolt Kit
Significantly the standard kits for this 6-inch flange typically include:
- Hardware: (12) Stainless steel hex bolts, (12) nuts, and (24) washers.
- Common Bolt Size: 5/16″-18 x 2″ or similar, depending on the tank’s flange thickness.
- Gasket: A -362 or -442 O-ring is often required for the seal between the adapter and the tank mouth.
Installation Instructions
- Preparation: Inspect the flange faces and threads for any burrs or scratches. Ensure the tank’s O-ring groove is clean.
- Gasket Placement: Lubricate the O-ring with a non-toxic silicone lubricant and seat it into the groove on the tank.
- Alignment: Position the adapter onto the tank mouth, aligning the 12 bolt holes with the tank’s flange holes.
- Bolt Assembly: Insert a bolt with a washer through each hole. Add a washer and nut to the underside.
- Tightening Sequence:
- Hand-tighten all nuts first to ensure the adapter is level.
- Use a star or crisscross pattern (e.g., tighten a bolt, then the one directly opposite) to apply pressure evenly and prevent leaks.
- Tighten the adapter in 3 rounds, increasing torque each time until it is fully seated against the gasket.
- Valve Connection: Once the flange is secure, screw your 3-inch control valve or distributor head into the central hub. Using PTFE tape or a suitable thread sealant.
6″ Flange adaptor, 3″ thread and distributor ports