Description
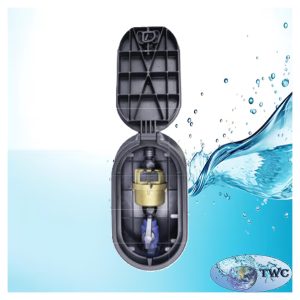
Firstly the Domestic plastic water meter – pulse ready – 20mm. Measurement of volume of cold potable water consumption. Also suitable for both domestic and small business applications.
FEATURES
- Approved to SANS1529 -1: 2019 Class C specification.(SA1508).
- Meter accuracy is not affected by the angle of installation.
- Approved for both horizontal and vertical installation.
- Pulse prepared.
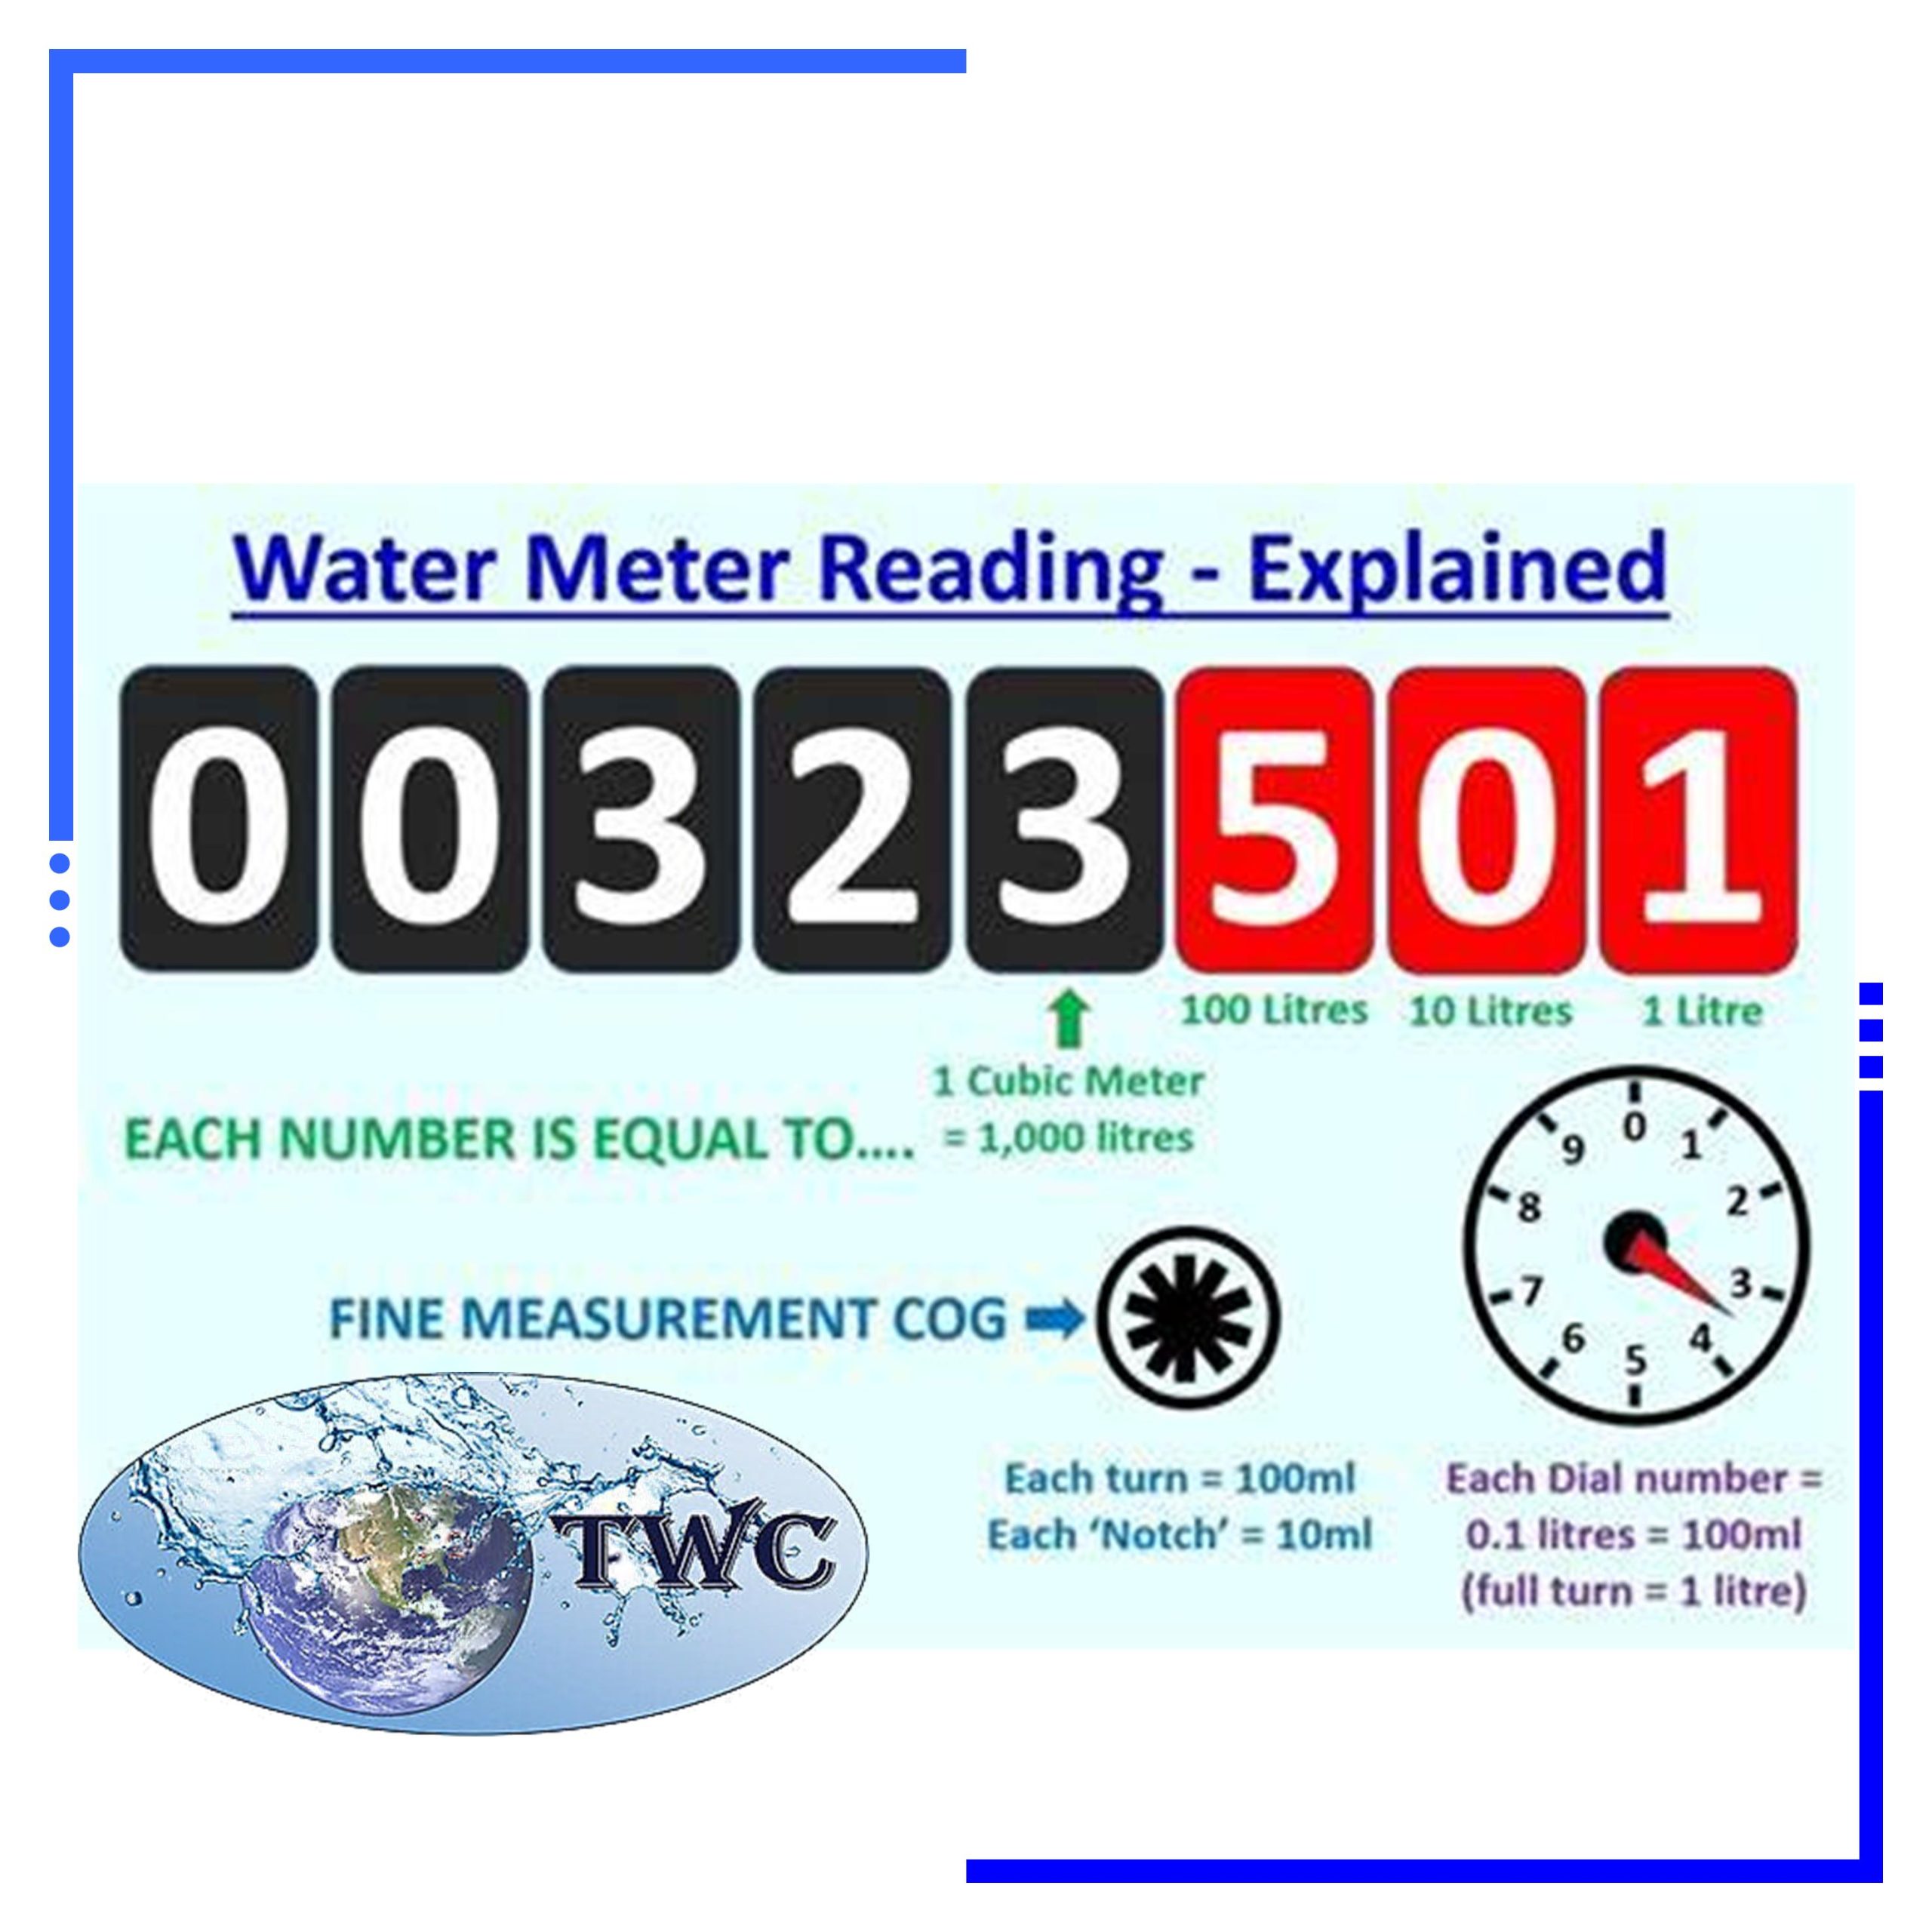
- Clear, easily read, liquid LED 8-digit counter.
- Minimum reading 0,00002 m3.
- Working temperature between 2°C and 40°C.
- Internal Non-Return Valve and Strainer.
- Working pressure: 1600 kPa.
- Grooved piston for improved performance and reliability.
- Inlet and outlet threads are compatible with ISO metric sizes.
- Meter bodies manufactured from specially blended glass-reinforced UV stabilised polymer tested up to 4800 kPa.
- 20mm meter has a bowed strainer with increased mesh area.
- 20mm & 25mm meter has spring loaded non-return valve.
- Robust leak proof construction.
- No external calibration facility prevents tampering.
Installation Instructions
Thank you for purchasing this high-quality Domestic plastic water meter – pulse ready – 20mm.
As a matter of fact the steps below will guide you through the proper installation process for your Polymer Piston Water Meter to ensure top performance and compliance with warranty conditions provided by The Water Company.
Step 1: Protecting the Meter
Start by ensuring all plastic water meters are covered post installation. This protects the meter from direct sunlight, which can be done using a housing or meter box.
Step 2: Sizing
Make sure the water meter is correctly sized according to the pipe size or the flow rate.
Step 3: Flushing Pipework
Before installation:
Flush all pipework to remove debris or sand, ensuring a clean pipeline.
Step 4: Meter Orientation
Install piston meters either horizontally or vertically.
Step 5: Avoiding Pressure
Ensure no pressure is applied to the meter during installation from misaligned pipes or excessive vibration, which can lead to failure.
Step 6: Fitting Installation
Avoid over-tightening fittings and excessive use of sealing materials like sealing tape, which can cause leaks.
Step 7: Thread Treatment
Only use thread tape or PTFE tape, ideally with tailpieces.
Step 8: Soldering Precautions
Avoid soldering near the meter, especially where brass fittings are involved, to prevent damage from heat.
Step 9: Water Type
Ensure the meter installed for cold water is not used in a hot water pipeline.
Step 10: Appropriate Usage
Use the meter only for clean potable water to avoid damage and inaccuracies.
Step 11: Handling Care
Handle the meter carefully as it is a precision measuring instrument. Do not drop it or break the meter seal.
Step 12: Thread Fittings
Avoid using tapered thread fittings; Use of tailpieces is preferable.
Step 13: Additional Protection
Install a strainer before the water meter to protect it from sand or foreign debris.
Conclusion:
As a result these steps will help you ensure the meter operates effectively and remains within the warranty guidelines. For any defects due to faulty workmanship or materials, The Water Company will handle replacements or repairs at their discretion. Although this may be true, proper installation is key to long-lasting and accurate meter performance.